
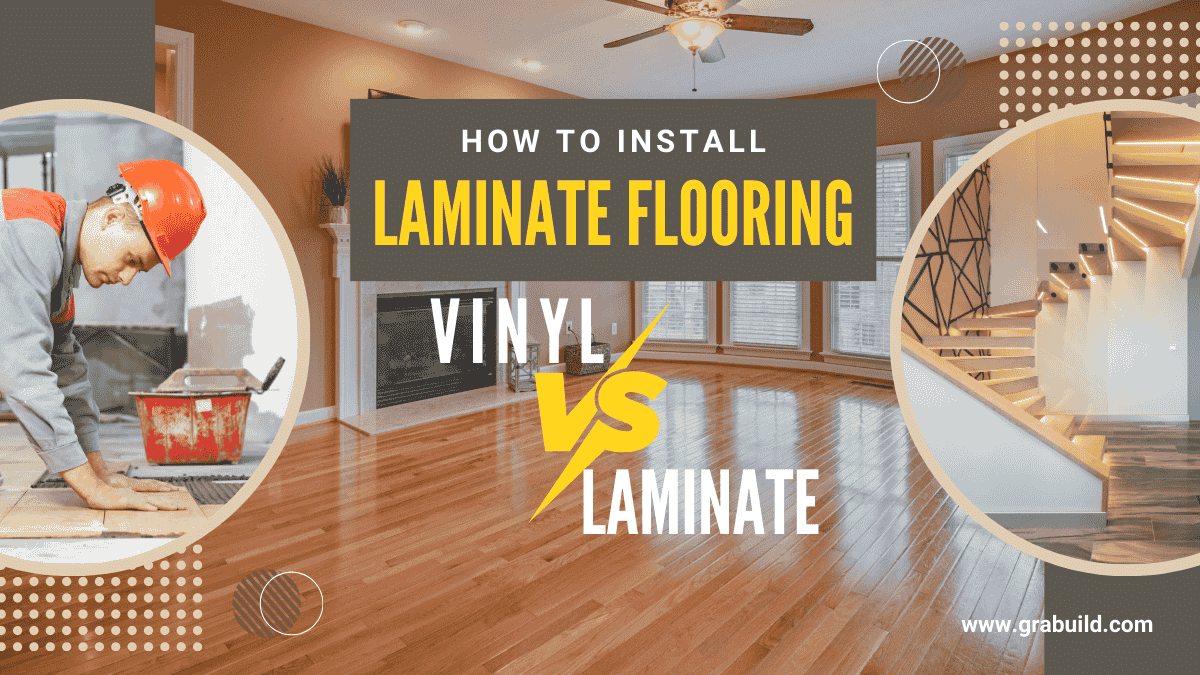
Laminate flooring is now one of the most popular flooring options for homeowners in the United States. It gives the appearance of real hardwood but at a much more affordable price. In addition, it requires very little maintenance and is much easier to install compared to many traditional flooring materials. In 2026, many homeowners prefer laminate floors because they offer a great balance of durability, modern style, and budget-friendly pricing.
If you’re planning to upgrade your home, learning how to install laminate flooring can help you save a significant amount on labor costs. Instead of paying professional installers, many homeowners choose a DIY laminate floor installation to reduce expenses. Whether you’re remodeling a living room, bedroom, or basement, laminate flooring can be a practical upgrade that instantly improves the overall look and value of your home.
Cost Overview of Laminate Flooring in the USA (2026)
Before beginning your project, it’s important to know the typical cost of laminate floor installation in the United States. Understanding the average pricing can help you plan your budget and decide whether to hire professionals or handle the laminate installation yourself.
In 2026, the average laminate flooring project usually includes the following costs:
- Laminate flooring materials: $1.50 – $4.50 per square foot
- Underlayment: $0.30 – $0.70 per square foot
- Professional laminate installation labor: $3 – $8 per square foot
Overall, homeowners in the U.S. typically spend around $5 to $12 per square foot for a complete laminate floor installation, including materials and labor.
Example:
| Project Size | Estimated Total Cost |
| 200 sq ft room | $1,000 – $2,200 |
| 500 sq ft area | $2,500 – $6,000 |
| Whole floor (1,000 sq ft) | $5,000 – $12,000 |
Many homeowners choose DIY laminate installation because laminate floors use a click-lock system, making them much easier to install than traditional hardwood flooring.
What Is Laminate Flooring?
Laminate flooring is a multi-layer synthetic flooring material designed to imitate the appearance of natural surfaces like wood, stone, or tile. It has become a popular choice because it delivers a stylish look while remaining affordable and durable.
A standard laminate plank is built with several protective layers:
- Wear layer – protects the surface from scratches, stains, and daily wear
- Design layer – contains the printed image that replicates wood or stone textures
- Core layer – made from high-density fiberboard (HDF) to provide strength and stability
- Backing layer – adds moisture resistance and helps keep the plank balanced
Thanks to modern manufacturing technology, today’s laminate flooring looks extremely realistic and can closely resemble premium hardwood varieties such as oak, maple, or walnut.
Tools and Materials Needed for Laminate Installation
Before starting your laminate installation, gather the necessary tools.
Basic Tools
- Measuring tape
- Utility knife
- Rubber mallet
- Spacers
- Circular saw or laminate cutter
- Level
- Tapping block
Materials
- Laminate flooring planks
- Underlayment
- Transition strips
- Baseboards or quarter-round molding
Having the right tools will make the laminate floor installation process much smoother and faster.
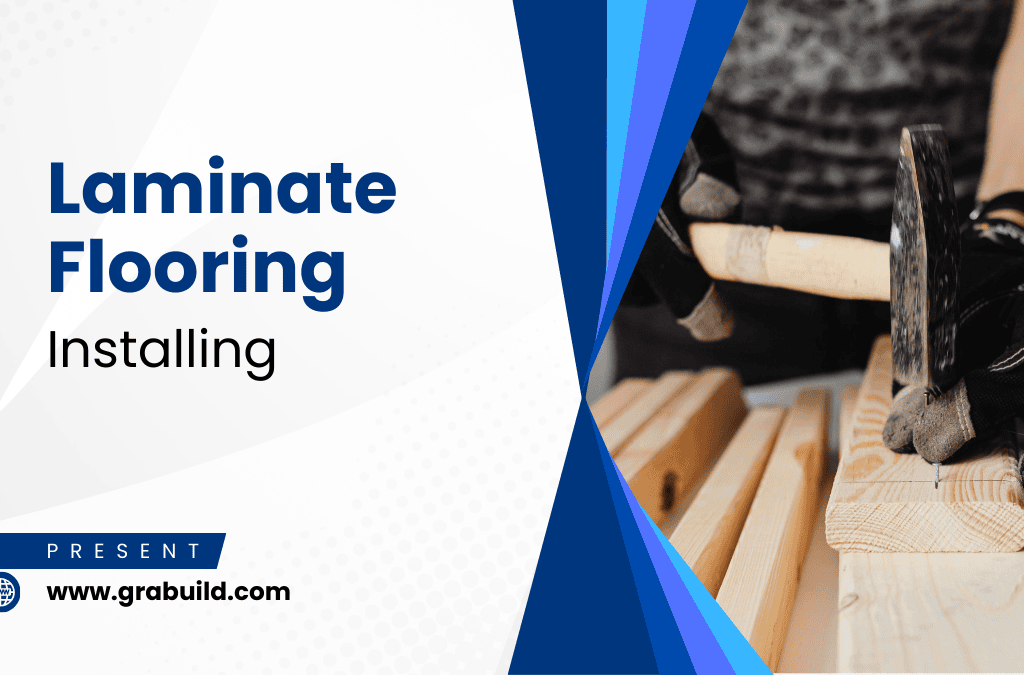
How to Install Laminate Flooring (Step-by-Step Guide 2026)
Installing laminate flooring is manageable for most DIY homeowners. The entire project can often be completed in one weekend.
Step 1: Prepare the Subfloor
A proper subfloor is critical for long-lasting laminate flooring.
The surface should be:
- Clean
- Dry
- Level
- Free of debris
Laminate flooring can be installed over:
- Concrete
- Plywood
- Existing vinyl flooring
- Tile flooring
If your subfloor is uneven, use leveling compound to correct the problem before installing laminate.
Step 2: Acclimate the Flooring
Before installing your laminate flooring, it’s important to let the planks acclimate inside your home for at least 48 hours. This step allows the material to adjust to the indoor temperature and humidity, helping to prevent any unwanted expansion or contraction once the laminate floor installation is complete.
Step 3: Install the Underlayment
Underlayment improves comfort, reduces noise, and adds moisture protection.
Roll out the underlayment across the entire floor and secure it with tape. Make sure there are no overlaps that could create uneven surfaces.
Some modern laminate products come with attached underlayment, which makes installation easier.
Step 4: Plan the Layout
Before installing the first plank, plan the layout of your flooring.
Best practices include:
- Start along the longest wall
- Install planks parallel to the main light source
- Stagger seams for a natural appearance
Leave a ¼ inch expansion gap around the walls to allow the floor to expand naturally.
Step 5: Install the First Row
Place spacers against the wall and begin installing your first row of laminate planks.
The planks should connect using the click-lock system.
Make sure the first row is perfectly straight, as this will affect the entire floor installation.
Step 6: Continue Installing the Floor
Once the first row is complete, continue installing additional rows.
Important tips:
- Stagger plank joints by at least 8 inches
- Use a tapping block for tight seams
- Avoid forcing planks together
This floating floor design means the laminate is not glued or nailed down.
Step 7: Cut Planks to Fit
At edges and corners, you will need to cut planks to fit the space.
Use a laminate cutter or circular saw to make precise cuts.
Measure carefully to ensure tight, professional-looking results.
Step 8: Install Trim and Moldings
After completing the flooring installation, remove the spacers and add baseboards or quarter-round molding along the edges. These trim pieces not only cover the expansion gaps but also give your laminate floor installation a polished and professional look. Properly installed moldings help finish the room while allowing the floor to expand and contract naturally
Waterproof Laminate Flooring: Is It Worth It?
Traditional laminate flooring is not completely waterproof, but modern waterproof laminate flooring has significantly improved moisture resistance.
These products include:
- Enhanced core materials
- Water-resistant coatings
- Tight locking systems
Waterproof laminate flooring is ideal for:
- Kitchens
- Entryways
- Basements
- Laundry rooms
While it is more expensive, many homeowners find that the extra durability makes it a worthwhile investment.
Vinyl vs Laminate Flooring
Many homeowners compare vinyl vs laminate flooring when choosing the best option for their home. Both materials are budget-friendly and durable, but they have some important differences that can influence your decision.
| Feature | Laminate Flooring | Vinyl Flooring |
| Appearance | Provides a very realistic wood-like finish | Looks good but sometimes appears slightly artificial |
| Water Resistance | Available in water-resistant and waterproof versions | Completely waterproof by design |
| Durability | Highly resistant to scratches and surface damage | More flexible but may dent under heavy pressure |
| Cost | Around $1.50 – $4.50 per square foot | Usually $2 – $5 per square foot |
| Comfort | Tends to feel warmer underfoot | Often feels softer and more cushioned |
If you want a natural hardwood-style look, laminate flooring is a great choice. However, if maximum moisture protection is your priority, vinyl flooring may be a better option for certain areas of your home.
Which One Is Better?
Choose laminate flooring if you want:
- Realistic wood appearance
- Lower cost
- Scratch resistance
Choose vinyl flooring if you want:
- Maximum waterproof protection
- Flexible installation
- Bathroom-friendly material
Laminate Installation Labor Cost in the USA
If you decide to hire professionals for laminate floor installation, the labor cost can vary depending on your location, floor condition, and project complexity. Larger or more complicated layouts usually require more time and skill, which can increase the overall expense.
In 2026, the average labor cost for laminate installation in the United States is:
- Basic laminate installation: $3 – $5 per square foot
- Complex floor layouts: $5 – $8 per square foot
- Stairs or custom cutting work: $10 or more per square foot
There may also be extra charges in some cases, such as:
- Removing old flooring: $1 – $3 per square foot
- Subfloor repair or leveling: $2 – $5 per square foot
- Installing trim or molding: $2 – $6 per linear foot
Many homeowners choose DIY installation because doing the how to install laminate flooring project themselves can help save roughly $1,000 to $3,000 on average, depending on the size of the house.
Benefits of Installing Laminate Flooring
Laminate flooring has several advantages that make it popular with homeowners.
1. Affordable Flooring Option
Laminate is significantly cheaper than hardwood flooring.
2. Easy DIY Installation
The click-lock system simplifies laminate installation.
3. Durable Surface
Laminate floors resist scratches, dents, and stains.
4. Stylish Designs
Modern laminate products closely replicate natural wood.
5. Low Maintenance
Cleaning laminate floors typically requires only sweeping and occasional mopping.
Common Mistakes During Laminate Installation
Avoid these common mistakes when installing laminate flooring:
Skipping floor acclimation
This can cause expansion problems later.
Installing on uneven subfloors
Uneven surfaces can damage laminate planks.
Ignoring expansion gaps
Floors need space to expand with temperature changes.
Poor layout planning
Random seams can make the floor look unprofessional.
Careful planning prevents expensive repairs later.
Frequently Asked Questions
How long does laminate floor installation take?
Most DIY homeowners can install laminate flooring in a 200–300 sq ft room within one day. Larger projects may take 2–3 days.
Can laminate flooring be installed over existing floors?
Yes. Laminate flooring can often be installed over tile, vinyl, or hardwood as long as the surface is level and stable.
Is waterproof laminate flooring truly waterproof?
Waterproof laminate flooring is highly water resistant, but prolonged standing water should still be avoided.
How much does laminate flooring cost in the USA?
The average laminate flooring project costs $5 to $12 per square foot installed in 2026.
Is laminate flooring good for kitchens?
Yes. Many homeowners now install waterproof laminate flooring in kitchens because it handles spills better than traditional laminate.
What is the difference between vinyl vs laminate flooring?
Laminate flooring offers a more realistic wood look, while vinyl flooring provides better waterproof performance.
Final Thoughts: How to Install Laminate Flooring in 2026
Laminate flooring remains one of the best home improvement choices for American homeowners in 2026. It offers the elegant look of hardwood flooring without the high price or complicated installation process. Many homeowners prefer it because it provides a stylish and practical solution for modern homes.
By learning how to install laminate flooring, you can potentially save thousands of dollars on renovation costs while maintaining full control over your project. With proper surface preparation, the right installation tools, and careful workmanship, laminate flooring can last anywhere from 15 to 25 years, depending on usage and maintenance.
If you are planning a flooring upgrade, this is a great time to consider laminate floor installation. You may also compare vinyl vs laminate flooring to choose the best material and explore durable waterproof laminate flooring options for areas exposed to moisture.
Start your home improvement journey today and transform your living space with modern laminate flooring that combines beauty, durability, and long-term value.

1 thought on “How to Install Laminate Flooring: Waterproof & Vinyl vs Laminate”